This article may contain affiliate links. If you buy through them, guitar.care may earn a small commission at no extra cost to you.
Restringing Is a Job, Not a Repair
Restringing a guitar is four steps: remove the old string, thread the new one through the bridge or tailpiece, secure it at the post, then stretch it until it holds pitch. The real fork is at the post — standard tuners need clean downward winds, locking tuners need none — and acoustics add a bridge pin to pull first.
The short answer
- Standard post wraps
- ~3 for wound strings, ~5 for plain
- Locking tuner wraps
- None — pull taut, clamp, tune
- Bridge pin, no puller
- Push up from inside the soundhole
- Stretch before trusting pitch
- 2-3 rounds of pull-and-retune
- Detune before removing anything
- Always — never cut or pry a string under tension
What You'll Need Before You Touch a Tuning Peg
A full change takes 20-30 minutes with the right tools and closer to an hour without them. Beyond the new strings themselves, you want wire cutters, something to turn the tuning posts fast, and — on an acoustic without a puller built into your winder — a way to lift bridge pins without gouging the top.
Top pick
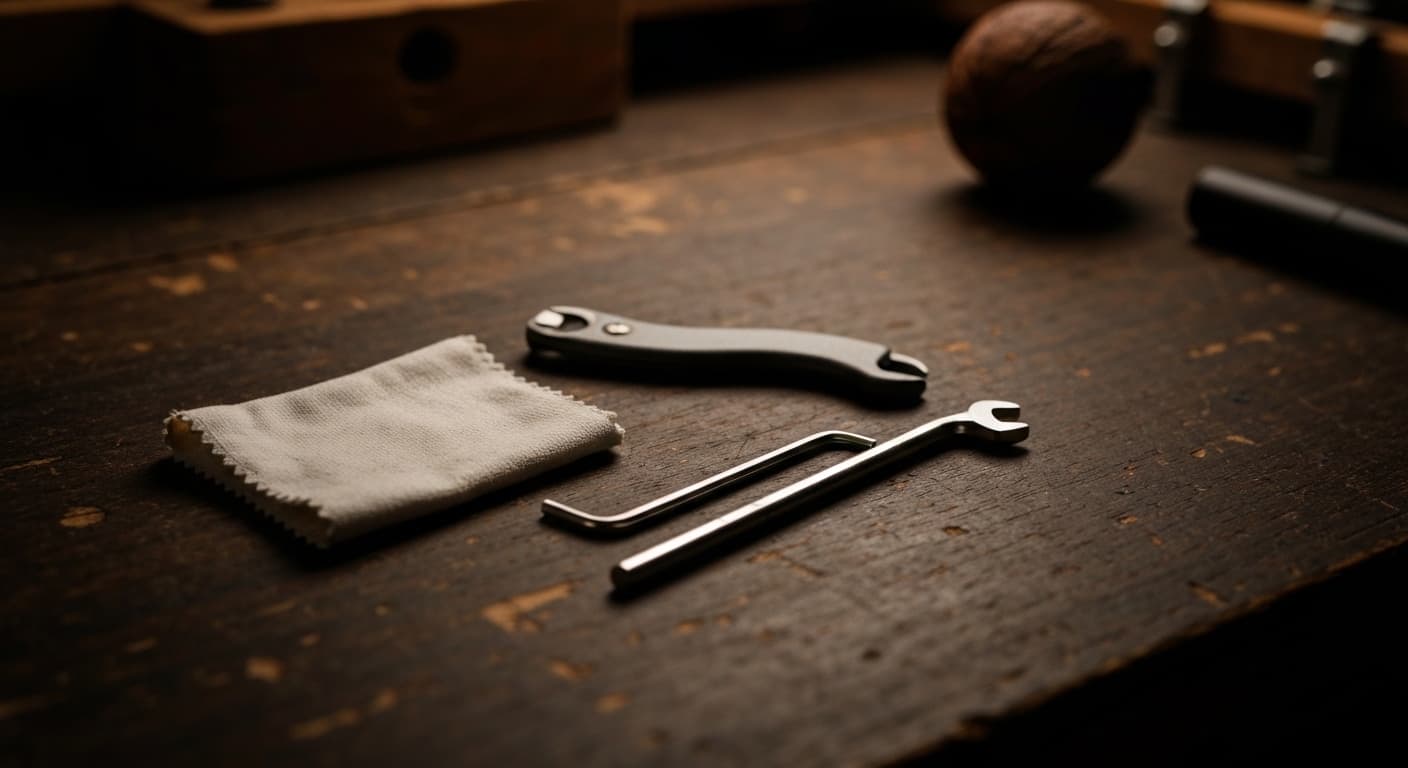
String Winder & Cutter
The crank does the repetitive turning, and the built-in cutter and pin-puller notch cover the other two tools most changes need.
If your strings die fast from sweat or you're changing gauge anyway, this is the natural moment to switch to coated strings — you're already removing a full set, so there's no wasted string either way.
One String at a Time, or Pull Them All Off?
Changing one string at a time keeps the other five holding the neck at roughly its normal tension throughout, which matters most on guitars where the bridge isn't glued or bolted down — an archtop's floating bridge, or the spider or biscuit bridge resting loose on a resonator's cone, can shift or fall over completely with no strings holding it in place. On a standard flat-top acoustic or a bolt-on electric, pulling everything off at once isn't risky, and it's the better choice when you're also cleaning the fretboard or polishing frets, since nothing is in the way.
Either method works for a normal string change. Default to one at a time unless you have a specific reason — fretboard work, a full cleaning, or curiosity about what's under there — to take them all off together. That default isn't optional on a 12-string: pulling all twelve at once drops an already-doubled tension load to zero in one move, which can shift the neck or lift the bridge — our 12-string care guide covers changing courses one pair at a time instead.
Acoustic: Removing Bridge Pins and Seating the Ball End
Detune the string fully before you touch the pin — pulling or prying a pin against string tension is how tops get gouged. With the string slack, a dedicated pin puller gives the cleanest, straightest pull. Without one, StewMac's stringing instructions note you can "reach inside the soundhole and push up on the pin from the underside" instead of prying from the top, which is both gentler on the finish and often easier than it sounds.
To install the new string, drop the ball end into the bridge hole ahead of the pin, then seat the pin with the string's slot facing the neck so the ball pulls up snug against the underside of the bridge plate rather than floating loose. Bring the string to rough tension while holding light downward pressure on the pin — it should stay seated on its own well before you're near pitch. If a pin keeps popping back out, the ball end usually isn't past the string ramp inside the pin's groove; back off, reseat, and try again rather than forcing it.
Electric: Winding a Standard Post Cleanly
Thread the string through the bridge or tailpiece, pull it to the correct tuning post, and leave enough slack to wind — roughly two to three inches of extra length per wrap you want, measured from the post before you start cutting or trimming. StewMac's stringing guide puts real numbers on that: wound strings need about three wraps and plain strings about five to seat properly on a standard post.
Direction matters as much as count. The same guide instructs winding so "the coils travel downward on the post, and always wind toward the center of the headstock" — coils that climb the post or wind outward bind against each other and against the string above, which is a common source of tuning slip that has nothing to do with the nut or the tuners themselves. Starting the first wrap over the tag end and running the rest underneath it locks the tag in place instead of leaving it to work loose under tension.
Locking Tuners: Skip the Winding Entirely
Locking tuners replace all of that with one motion: thread the string through the post hole with the post's opening pointed roughly at the nut, pull it taut through the hole by hand with no slack left, then tighten the tuner's thumbwheel to clamp it in place. StewMac's instructions for locking tuning machines are explicit that "no extra wraps around the post are needed. In fact, wrapping can defeat the purpose and reduce tuning stability" — the clamp inside the post does the holding, and extra winds just add another place for the string to slip.
Bring the string to pitch after clamping, not before — you'll end up with a small fraction of a wrap on the post as the string settles, which is normal and expected. Trim the excess close to the post once you're at pitch.
Stretching New Strings So They Actually Hold Pitch
Every string, wound however carefully, needs stretching before it holds pitch reliably. Tune to pitch, then grab each string a few inches from the bridge or pickups and pull it gently away from the body along its length, working from the low string to the high one. Retune and repeat two or three times — you'll feel the string stop giving noticeably each round.
Recommended gear
Clip-On Tuner
Accurate, always on the headstock, and essential for checking intonation during setups.
Leave it clipped to the headstock through this whole process rather than tuning by ear; watching the needle settle after each pull is the fastest way to tell when a string is actually done stretching versus just close. If a string still won't hold pitch after three solid rounds of stretching, the cause has usually moved somewhere else — our guide to tuning stability works through nut binding and post-change drift in the order they're most likely to be the culprit.
This stretching step is exactly why a gigging player should never restring for the first time right before a set — a spare that's been through this process days earlier and sat ready in the bag holds pitch immediately, where one strung on the spot needs the next few songs to settle. Our gig-bag emergency kit guide covers what else earns a spot next to that spare set.
While the Fretboard Is Exposed
A string change, especially an all-off one, is the one moment the fretboard is fully reachable with nothing in the way. It's the natural time to wipe down the wood and posts and give an unfinished board its periodic feed — our fretboard conditioning guide covers what rosewood, ebony, and maple each need and how often, and our string maintenance guide covers keeping the new set alive once it's on, including the daily wipe-down that does more for string life than anything else on this list.
This guide assumes the guitar's nut and bridge were already cut for the string order that's going back on. If you're restringing a guitar in the reversed order for a left-handed player, the nut slots and — on an acoustic — the saddle angle need to be corrected for that order first, or the new strings won't sit or intonate right no matter how carefully you wind them; our left-handed setup guide covers what that involves.
After the Change, Recheck the Setup
A same-gauge, same-brand restring rarely shifts anything worth measuring. A gauge change is different — different tension pulls the neck differently, which moves relief, which moves action, which can put you back into buzzing or feeling stiff even with a technically correct change. Our guide to what a gauge change actually does covers how big a jump needs a full recheck versus just a relief check, and our DIY setup guide covers checking relief and action after exactly this kind of change — worth the ten extra minutes any time you've swapped gauges rather than just replacing what was already on the guitar. Our full care guides fold this into a complete seasonal routine if you'd rather follow one checklist than piece it together.
A Clean Change Holds Its Tune the First Time
Most of what makes a string change feel unreliable — pitch that keeps dropping, a pin that won't seat, a post that looks like a bird's nest — traces back to skipping one of these steps rather than any real difficulty in the job. Detune before you pull anything, wind with intention instead of just cranking, and stretch before you trust the tuner. Do that consistently and a full change becomes routine rather than a guessing game every time a string breaks.