This article may contain affiliate links. If you buy through them, guitar.care may earn a small commission at no extra cost to you.
Tarnished Frets, Not Worn Frets
If a fingernail dragged along a string catches on every fret, that's tarnish and grime, not fret wear — a cleaning job you can finish at home in under an hour. Match the abrasive to how dull the frets actually are, and mask the fretboard before anything abrasive touches it.
The short answer
- Time needed
- Under an hour
- Start with
- Fret erasers
- Escalate only if needed
- Micro-mesh, then steel wool
- Before you start
- Mask the fretboard
What You're Actually Polishing
Frets are usually nickel-silver (despite the name, an alloy with no actual silver), or stainless steel on some higher-end and modern instruments. Nickel-silver tarnishes visibly — it goes from bright silver to a dull gray, sometimes with faint discoloration — while stainless resists tarnish almost entirely but can still pick up a light film of grime and buffed-in dirt. Knowing which you have matters: stainless frets rarely need real abrasive work, just a wipe and a light buff, while nickel-silver frets are the ones that benefit most from this guide.
Before reaching for an abrasive, rule out the difference between tarnish and actual fret wear. Tarnish is a surface film — it comes off with polishing and the fret underneath is unchanged. Wear is metal loss from string contact, showing up as flat spots or grooves you can feel with a fingernail across the crown. Polishing won't fix wear, and aggressive polishing over a badly worn fret can make buzzing worse by removing more of what little crown is left. If you feel grooves rather than just dullness, that's a job for a proper setup check or a tech visit, not a home polish.
Choosing Your Abrasive
There's a real hierarchy here, and matching the abrasive to the problem keeps you from removing more metal than you need to.
Fret erasers are rubber blocks embedded with fine abrasive, sold specifically for this job. They're the safest starting point for routine maintenance — mild tarnish, buffed-in dullness, nothing dramatic — because they're nearly impossible to damage a fretboard with by accident and they require no masking discipline to use safely.
Top pick
Fret Polishing Erasers
The lowest-risk way to bring back shine on lightly tarnished frets — no masking tape gymnastics required for most guitars.
Micro-mesh pads are a graduated abrasive system, typically running from around 1500 grit up through 12000, used in sequence from coarser to finer. They're the standard choice for heavier tarnish or when you want a true mirror finish, and they're gentle enough that most players can use them with reasonable care. Wrap the pad around a soft backing (a folded cloth or a fret guard) so it follows the curve of the fret crown instead of flattening it.
Steel wool, specifically 0000-grade (the finest commercial grade), is the traditional choice and still works well, but it comes with two real risks: steel wool sheds fine metal filings that are murder to fully clean out of pickup cavities and f-holes, and it's easy to press hard enough to leave fine scratches in surrounding finish if you're not masking carefully. If you use it, work in a controlled area, cover the pickups first, and vacuum thoroughly afterward — a magnet run along the top can pull up filings a vacuum misses.
For most players doing routine maintenance, start with a fret eraser. Reach for micro-mesh only if the tarnish doesn't budge, and treat steel wool as the option for genuinely stubborn, years-neglected frets rather than the default — a progression backed by StewMac's own fret-polishing walkthrough, which uses the same coarse-to-fine logic professional techs work from.
Protecting the Fretboard While You Work
This is the step that separates a good result from a scratched-up fretboard, and it matters more on unfinished rosewood or ebony than on a sealed maple board, since raw wood scratches and absorbs residue more easily.
- Change the strings first, or at minimum loosen and lift them out of the way. You need full access to the fret, not a gap you're working around.
- Mask the fretboard. Low-tack painter's tape, cut into narrow strips, laid on either side of each fret (or the whole board in one pass if you're doing every fret) keeps abrasive off the wood. De-tack the tape first by pressing it against your shirt a couple of times — full-strength tape can lift finish or leave residue, especially on nitrocellulose.
- A dedicated fret guard — a thin steel or brass shield with a fret-width slot — is the faster alternative to full masking if you're only touching up a few frets rather than the whole neck. It slides under the string and isolates just the fret you're working on.
- Cover the pickups on electrics. Metal dust from steel wool or aggressive micro-mesh work is magnetic and will stick directly to exposed pole pieces. A strip of tape or a cloth over the pickups avoids this entirely.
- Work fret by fret, not in long strokes down the neck. Short strokes along the crown, following its curve, keep you from flattening the fret's profile or wandering off it and onto the wood.
If your board is due for conditioning anyway, this is a convenient time to handle it — strings are off and the board is fully exposed. Our fretboard conditioning guide covers safe products for rosewood, ebony, and maple, including what to avoid.
Step-by-Step: A Full Fret Polishing Session
- Remove or lift the strings. A string winder makes this faster if you're taking them fully off.
- Wipe the board and frets with a dry cloth to clear loose dust before any abrasive touches the wood.
- Mask the fretboard or set up a fret guard as described above; cover pickups if applicable.
- Start with a fret eraser and light, even pressure along each fret's crown. Check progress after every few strokes — you're looking for uniform brightness, not a mirror finish on the first pass.
- If tarnish persists, move to micro-mesh, working from a coarser grit up through progressively finer grits, cleaning off dust between each grit change so you're not dragging coarser particles into the finer pass.
- Once every fret is uniformly bright, remove all masking tape and vacuum the neck and body cavities to clear metal dust and grit — don't skip this on electrics, since dust left near pickups or in a control cavity can cause noise later.
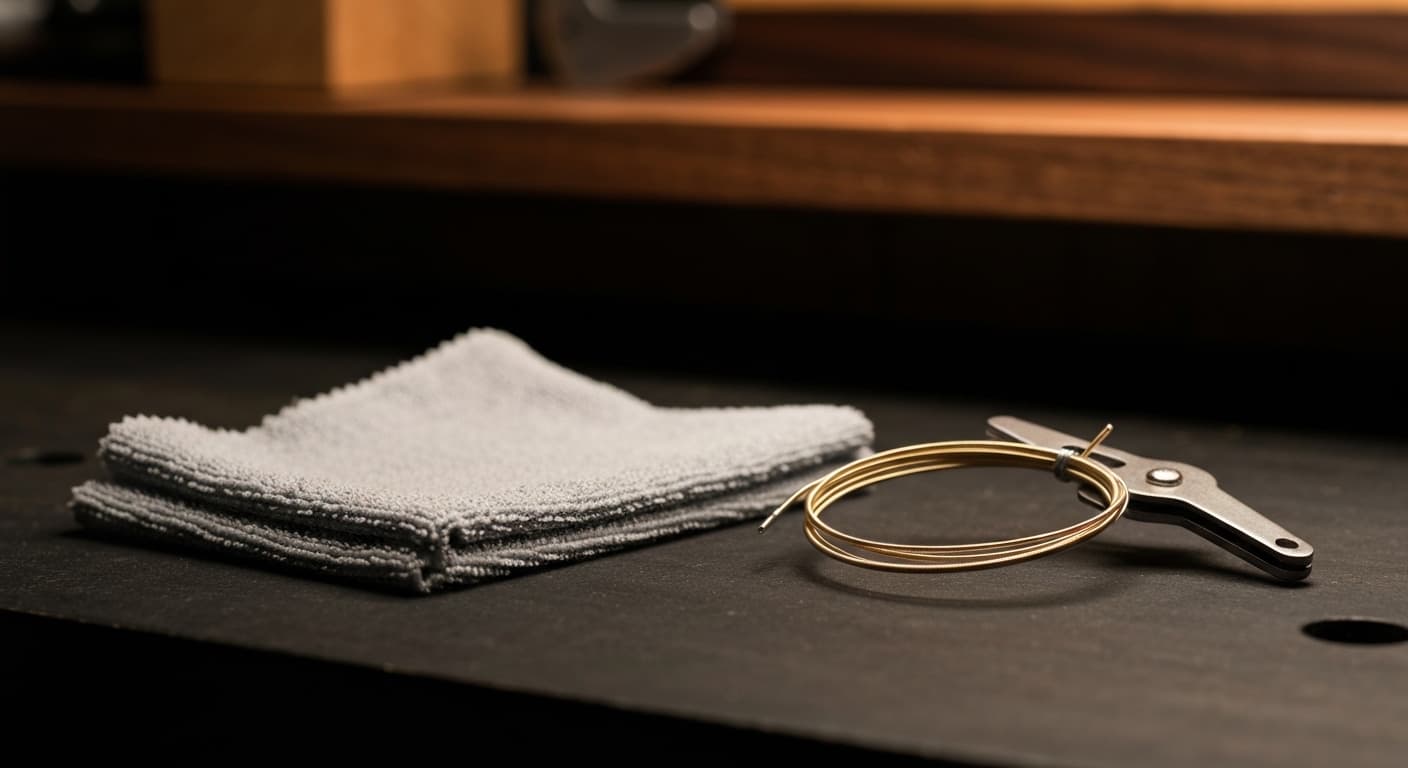
- Wipe the whole neck down with a clean microfiber cloth, condition the fretboard if it's due, and restring.
Recommended gear
Fretboard Conditioner
If the board is exposed anyway during a fret polish, it's a good moment to check whether it needs conditioning — see our fretboard guide for how often.
How Often This Actually Needs Doing
Fret polishing isn't a monthly task. Players who wipe strings and fretboard down after sessions with a microfiber cloth — the single habit that prevents most of this buildup — might go a year or more between real polishing sessions. Players who don't wipe down regularly, or who play a lot with sweaty hands, will see tarnish build up faster and benefit from checking every few months. Let visible dullness or that gritty feel under a bent string be the trigger rather than a fixed schedule; polishing frets that are already clean doesn't help anything and just wears at the metal for no reason.
Common Mistakes to Avoid
- Skipping the mask and hoping for the best. Even a careful hand slips, and unfinished rosewood shows every scratch.
- Using unmasked steel wool near an open pickup. Filings in a pickup cavity are a genuine pain to fully remove and can cause crackling later — see our guide to electronics maintenance if that happens.
- Long strokes down the neck instead of working fret by fret. This flattens the crown over time instead of preserving its curve.
- Mistaking wear for tarnish. If a fingernail catches in a groove rather than just feeling rough, polishing won't fix it — get a setup and fret check instead.
- Reaching for steel wool as step one. Start with the mildest abrasive that does the job.
When to Call a Tech Instead
Fret polishing at home covers tarnish and light grime. It's not the fix for frets with visible flat spots, string buzz that persists after a clean setup, or sharp fret ends poking out past the fretboard edge (usually a sign of wood shrinkage from a dry spell — worth checking your humidity setup too). Those point to an actual fret dress, level, or replacement, which needs a tech's tools and experience. Polishing over a problem like that just delays a proper fix and can make it slightly harder to diagnose once you do bring it in.
If fret polishing turns up other issues along the way — high action, an out-of-tune neck, buzzing that a clean fret doesn't fix — our care guides walk through the rest of a seasonal setup and maintenance routine so you're not chasing each symptom on its own.
Keeping the Feel You Just Restored
Bright, smooth frets change how a guitar feels under your fingers more than almost any other five-minute maintenance job. Match the abrasive to the problem — a fret eraser for routine dullness, micro-mesh for real tarnish, steel wool only when you're prepared to mask carefully and clean up thoroughly afterward — and always protect the fretboard and pickups before you start. Do it once, keep wiping the neck down after sessions, and you'll rarely need more than a fret eraser again.